Getting back to a simpler time. When Christmas wasn’t about getting the latest and greatest gadgets. What used to be a time to celebrate family, and to appreciate the little things, now seems to have almost become forgotten. So to say I am excited about this, would be a total understatement. I have paired up with some other AMAZING bloggers to bring y’all a variety of “made with love” items that will be sure to make a perfect gift and a lasting impression.
It’s officially after Thanksgiving dinner which means it’s a green light for all things Christmas, right? I love Christmas, everything about it. [Besides all the hustle and bustle. And the sometimes ridiculous amount of money that gets spent]. The baking, the tree, the decorations, and most importantly, time spent with family. Ok, and yes, I like the gifts too. I would be lying if I said I didn’t. But this year we are trying something different in our household. We want to stray away from store bought and move towards [or backwards, whichever way you want to look at it], a handmade, made with love, hand and heart, diy, Christmas.
So, below I have listed the other participants who I am SO thankful said yes to this collaboration (thanks guys, your the best!) I hope y’all find joy in creating some of these items. I promise nothing beats handmade. ♡
- Erin from Sanctuary Farmstead has done a step by step tutorial for candied pecans. A perfect gift for coworkers, friends, or let’s be honest, anyone! You can find it here.
- Nikala from The Montana Farmhouse has done a tutorial on how to make your own beeswax wraps. If your not familiar with them, they replace plastic wrap. You are able to wrap cheeses, sandwiches, crackers, basically whatever your heart desires, with confidence that it will stay as fresh as plastic wrap would had kept it. I don’t know about you, but goodbye plastic, hello natural. Her tutprial can be found here.
- Jill + Kay from Under A Tin Roof has done a DIY dream pillow for you. Doesn’t that sound heavenly?? And like you might have to make one (or three) for yourself? You can learn all about it here. Side note, you might find yourself browsing their blog for hours. There is so much good information. AND if your not thr DIY type, their products in their shop section are simply amazing!
- Crystal from Wholefed Homestead did, brace yourself, Old Fashioned Pulled Honey Taffy. I know, it almost doesn’t get any better! Crystal is passionate about growing her family’s own food and it shows, not only in her beautiful photographs, but also in the knowledge she shares. One of my very favorite Instagram accounts and blogs! You can find her recipe here.
- Alisha from Folk + Co. Is an oil goddess, if that’s a thing. If you are curious about essential oils, she’s your gal. Her blog has a plethora of essential oil recipes, tutorials, how-to-use, you name it, oily things. I was so excited when I asked her to be part of the collab and she said yes. She will show you how to make your own salve. With gorgeous photos, of course. You can find the recipe here.
- Jennifer from Chaos And Grace has done a couple items for y’all. Handmade Soaps, and Crochet! If you’ve never used homemade soaps, your in for a real treat! There are so many recipes and ingredients to make a perfect bar! You can find her blog post here. Jennifer has also done a video on her YouTube channel if you are more of a visual type person and want to see the entire process in video form. You can find her video here.
- And last but not least, there’s me, Brianne from House To Homestead. My DIY Christmas gift idea is metal stamped jewelry. You can make it as basic, or complex as you want. For this tutorial, I have opted for a basic idea, because simple is good. Especially when just starting out. Below you will find the materials needed, as well as where you can find the items I used, AND some additional items I think would make a great addition to your metal stamping collection.
Materials needed:
- Metal Blanks
- Metal Stamps
- Stamping Block (not necessary, but recommended)
- Bracelet Bender
- Hammer
- Sharpie Marker (If you want more definition)
- Soft Cloth (to buff out the sharpie)
This is so simple, it may become your next hobby! You’ll want to first decide on what you want to stamp. This can be anything, seriously, anything. A name, a quote, single words, even shapes or patterns or a combination of shapes/words. Let your imagination run wild. Once you’ve decided on what you want, go ahead and do your best at lining things up. You may mess up the first couple items until you get the hang of things, but that’s ok. You’ll get better, I promise!
There should be a protective layer on your blanks, simply peel those back as pictured below.
Also before you start stamping, make your your letters are turned the right direction when you turn them upside down. I can’t tell you how many times I’ve stamped a backwoods or upside down letter as a result of not double checking. This is also the point where you would use your stamping block underneath your blank to prevent any damage to the surface you are stamping on, and to get the most crisp impression possible.
Now for the fun part, the actual stamping. Once your satisfied with how things are lined up, you can start stamping!
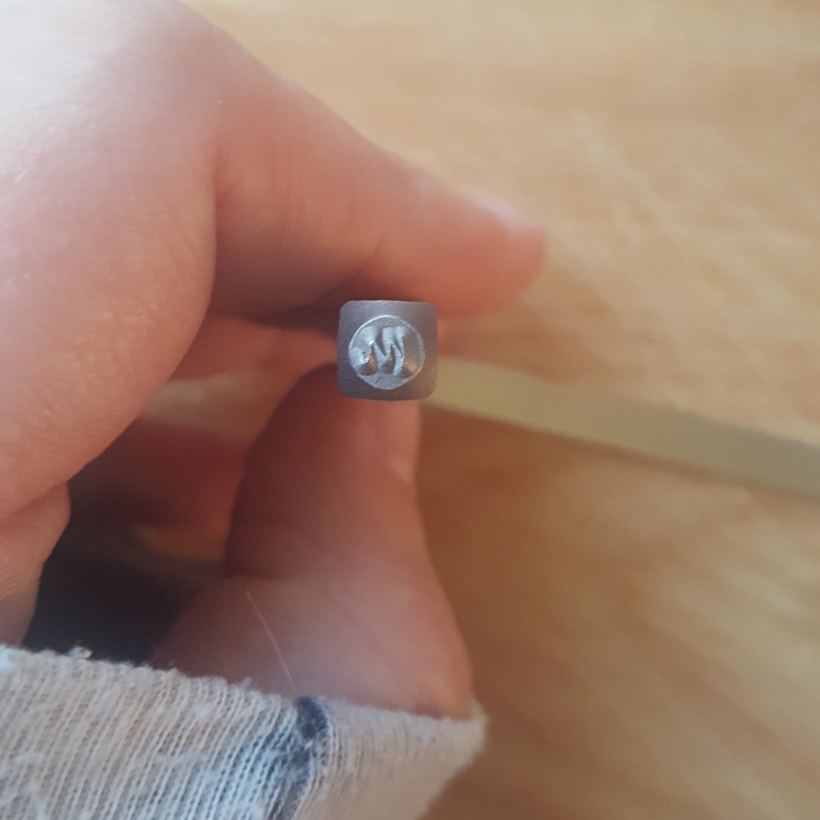
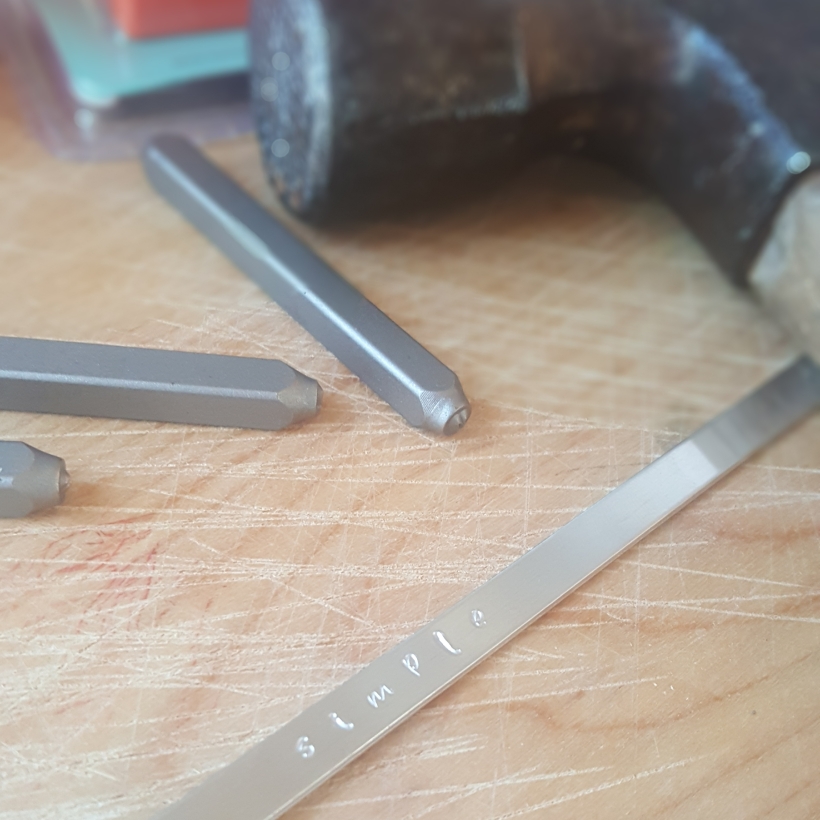
Hold your hammer firmly, and give it one good wack. You’ll want to try to avoid striking the stamp more than once. It could result in double stamped letter, or a deeper impression than what you might want. I usually try to start from the center and work my way to the outside. For instance, I stamped the word “simple” on this bracelet, so my first letter I stamped was an “m”. Next was a “p”, then an “i”, and so on and so forth. That has seemed to be the best way for me to keep things centered and symmetrical. Once your done, you should have something like this.
At this point you can either leave it as is, or you can add black black sharpie to the print to bring them out a bit. You would then use a soft cloth and start buffing away at the marker on the areas not stamped. It should easily come off, leaving behind black ink only inside the letters. Pretty cool, huh.
You will need to use the bracelet bender to bend it into the desired shape. Unfortunately, I lended mine to a friend and am unable to show you in this tutorial how to use it. But here is a great video from their YouTube channel showing you exactly how to use it, and what you can expect from it.
Here is one of the bracelet I made that has been well loved, and worn daily for about a year now. But you can see, the dark ink makes it looks really nice. Almost giving it an antique look to it.
And that’s it! A few easy steps and you can have your own metal stamped jewelry gifts in no time.
A side note I should probably mention: The Impressart blanks are made from aluminum which is a soft metal and the stamps are made for stamping soft metals. If you want to venture into stamping harder metals such as spoons or steel, you will need to buy stamps made for stamping hard metals. I wouldnt want you to damage your stamps by attempting to stamp something the stamps simply werent made for.
If your looking to add more shapes or patterns to your stamp collection, I have found some really neat ones I have been eyeballing. These, these and these.
So I truly hope you enjoyed these gift ideas! Don’t forget to follow/tag on Instagram as I would love to see what DIY gift ideas you try!
Xo,
Brianne


Packets of seeds from your own garden or small succulent plants grown from cuttings are also excellent gifts.
LikeLiked by 1 person
Those would make excellent gifts!!
LikeLiked by 1 person